Practice Contribution


This repo is dedicated to helping individuals contribute to open source for the first time.
Before you contribute, read the following Contribution Guidelines before making a pull request(PR). If you have any questions or assistance, you can reach out to the repo maintainers and administrators here
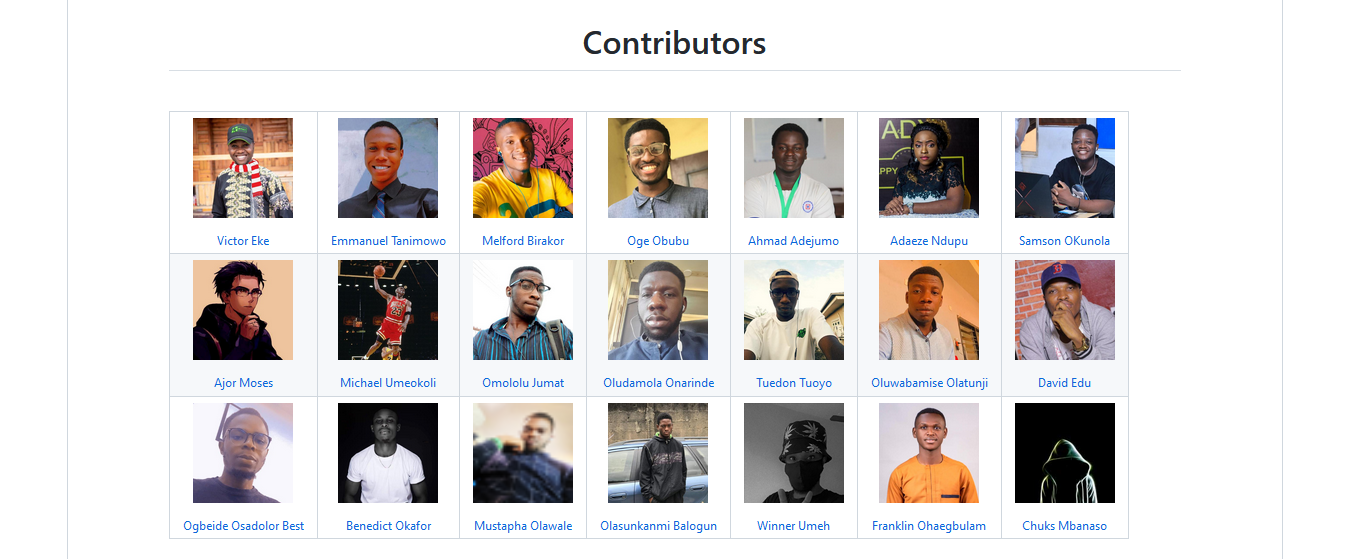
This is a preview of what the contribution looks like. Preview
How to Contribute
Follow this tutorial to contribute.
1. Install git
Git is a version control system that is used for tracking changes in a file. Git is an imporant tool we’ll be using to work on our github projects. If you want to learn how to install git without any errors, follow this tutorial, if not, install it and move on to the next step.
2. Fork this repository.
 Fork this repository using the fork button on the top right of this page, or the pencil icon on the right.
This will create a copy of the project with your name.
3. Clone your fork.
 Cloning a project is simply taking that project and making a copy on your local machine.
To clone this project, click the button on green that says code and on the drop down box, copy the URL of the project in the box and open up your git bash terminal and type in the following command
 git clone "URL you just copied
It should look like this:
git clone https://github.com/your_name/Practice-Contribution.git
Where “your_name” will be your username on GitHub. Running this command will clone the project in your local machine.
4. Switch directory
Next switch into the folder of the repo we just cloned by typing this command in your bash terminal:
cd <repository name>
cd stands for “change directory” and the repository name is the name of the project repo: practice-contribution
therefore the command will be cd practice-contribution
 You can see from the image above, we switched into a new directory called practice-contribution.
5. Point origin branch to upstream
We need to point our forked repo(origin) to the upstream(source) repo: To do that, type the command
git remote add upstream <URL of source repo>
git remote add upstream https://github.com/CommunityPro/Practice-Contribution.git
6. Create branch
Now we have successfully pointed our origin repo to upstream, we can now create a new branch which we’ll be making our changes from. To create a branch, type the command:
git checkout -b <branch name>
You can name the branch anything you want, but for the sake of this project, name your branch add-yourname (replace yourname with your own name).
E.g git checkout -b add-bruce
7. Make your changes.
Copy the code below, edit it with your own information and then paste it into the Contributors file of this repo
<!-- Start of column-1 -->
<td align="center">
  <a href="https://github.com/evavic44">
    <img
      src="https://avatars.githubusercontent.com/u/62628408?v=4"
      width="100px"
    />
    <br />
    <sub>Victor Eke</sub>
  </a>
</td>
<!-- End of column-1 -->
A few things to change:
-
Replace the link with your own profile link
<a href="your link here"></a> -
Right click on your github profile image and copy the image link and paste inside the
imgtag. Leave thewidth=""property
<img src="your profile image link here" width="100px" />
Just go to your GitHub profile page to get your profile image and link.

- Replace the sub tag with your own name.
<sub>Your Name</sub>
Then save your changes.
8. Make a commit
Now we’re done adding our profile, we need to make a commit to save that file added. on the git bash terminal, type
git status
This will show us a list of all changes made.
Next do a git add .(period) which means, add every changes made.
git add .
Now we can write our commit message.
git commit -m 'Add bruce wayne'
Change Bruce Wayne to your own name.
9. Push changes to GitHub
Now we have sucessfully added our profile, we can now push the changes to GitHub. Use the command below to do that.
git push origin <branch name>
Replace the <branch name> with the name of the branch you created earlier. E.g git push origin add-bruce.
Our changes should get pushed to the main repository and we can now do a pull request.
10. Make a pull request(PR)
Now when you check the repo your forked, you should see the changes we just pushed to GitHub

- Next click the
compare and Pull requestbutton which will open up the pull request in a new tab.
- Guidelines on how to add your profile will be automatically pre-populated for you, follow the instructions and fill in the right details and click create pull request.

You have successfully made a pull request(PR) the standard way for most GitHub projects. Congratulations! 🤩 Just sit back and relax as your changes gets merged immediately.
Thank you for taking the time to check out this tutorial, do you need any help, question or feedback, or do you find any step in this tutorial confusing, feel free to contact any of the repo managers on our discussions to drop your questions and we’ll attend to you as soon as possible.


